
As mentioned in my earlier post, the glass face had broken loose in the wattmeter on my TU-75B Variac. I managed to re-attach the glass, learn a bit about this particular meter movement, and take a few nice shots while I had the unit apart.
First order of business was to clean out the gasketing material that originally held the glass in place. It was black and brittle and not too terrible to scrape out of the inside of the meter body. <sidenote> I do need to get a better understanding of what these original materials are – a table of common materials and finishes of the era, along with how to clean them and affix them would be a great resource to develop </sidenote>

With the inside cleaned, the glass seated flush against the back of the opening. I scratched up the inside wall a bit with the exacto knife, but it’s not visible when the meter is assembled.

I picked up some Permatex 81730 glass sealant, which was recommended in this post about re-seating vacuum tube bases. This video about re-seating CRT socket bases was where I first heard about it while researching how to reconnect the base on my OS-8/CU scope. I figured I’d use it for this application as well, since it’s a similar plastic to glass connection (albeit without the heat of a CRT). It was a little difficult to work with for this particular application; I wish it was a little more viscous and a little less sticky. I also have some Permatex 80008 Form-a-Gasket sealant, which perhaps I’ll try next time. The other gauge I have to re-face is going to be done with acrylic, so that that may be a different type of adhesive. I was very conservative in applying the permatex, since it was easy to spread to visible parts of the glass and difficult to clean up while it was setting.

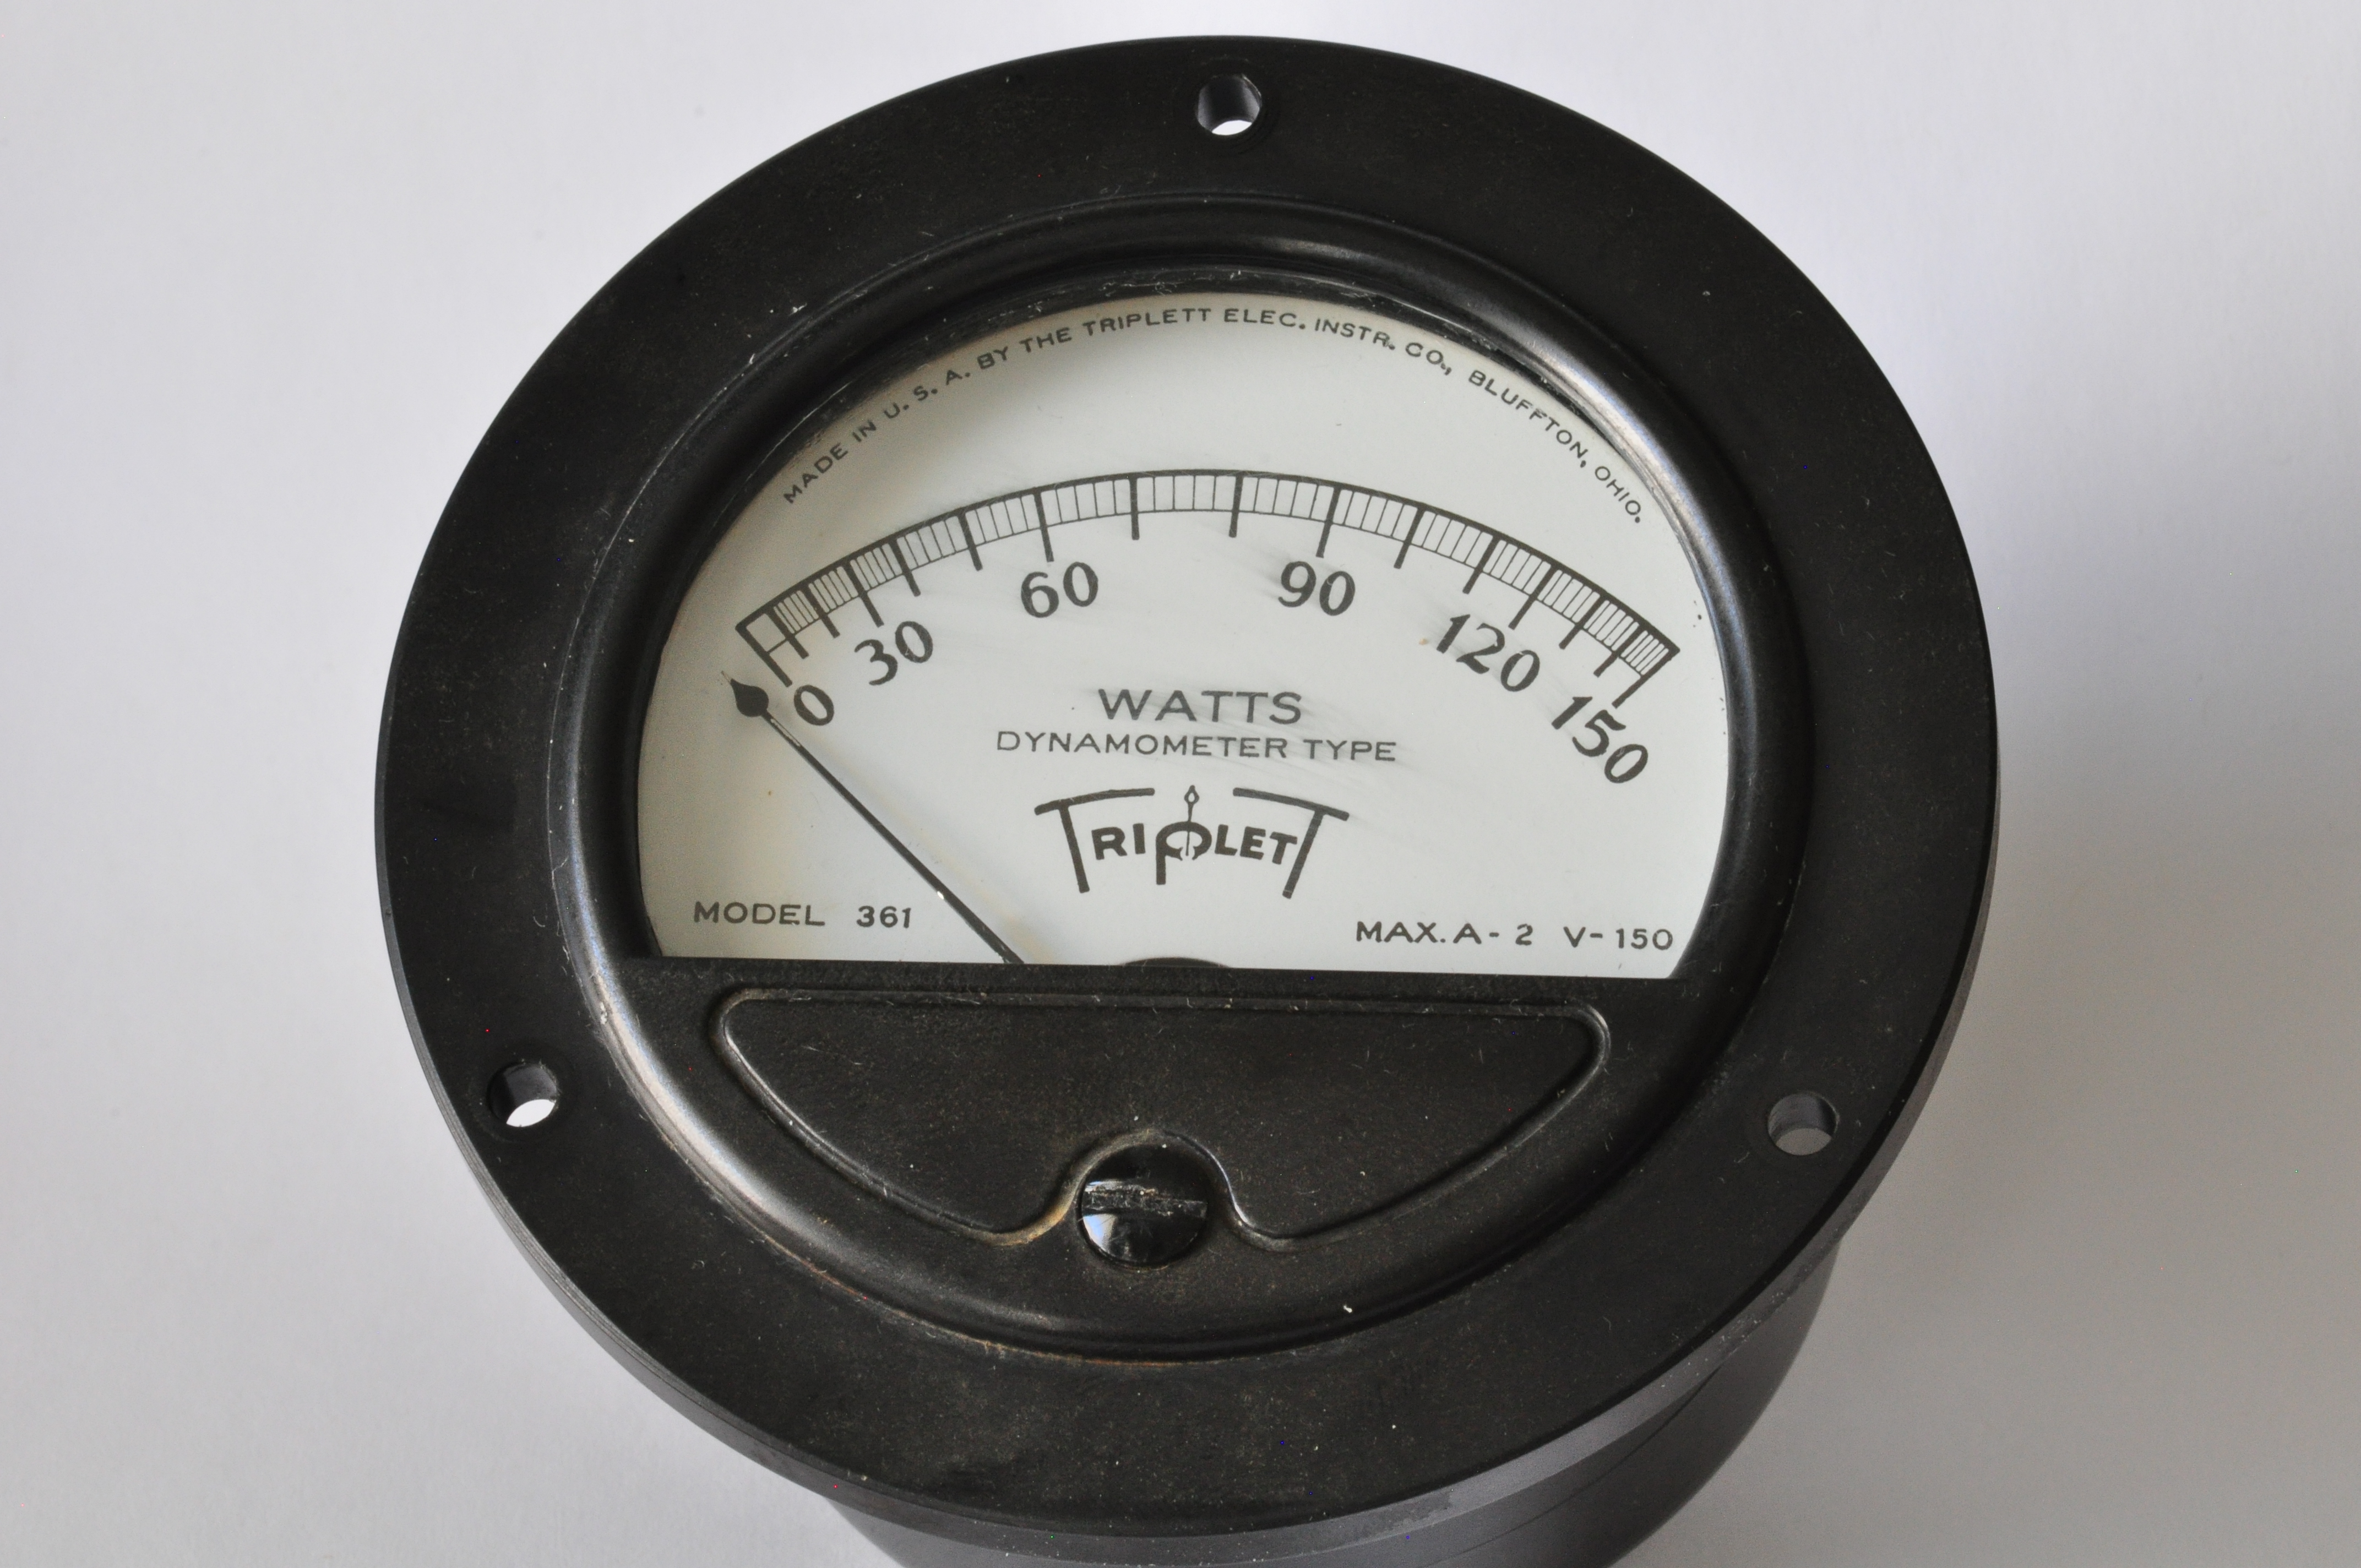
With the glass face out of the way, I figured I’d get a few good macro shots of the innards. The white bobbin on the top is a resistor, while I believe the brass stock in the back is a shunt.

Here’s a closer look at the wire wound resistor. 
And the super fine wire from the V+ connection

The way this meter is able to display wattage is by multiplying voltage by current. It does this by way of nested coils: one stationary and one on the movement. Here is shown the meter at rest.

here is the meter at half way, notice the inner bobbin is rotated.

A few close-ups of the movement


So then I re-installed the meter face and gave it a quick, damp wipe down. Big Mistake. See the streaks I’ve caused? Sigh.. live and learn. It was a stupid, ham-fisted move on my part.

I also scratched up the glass a bit while I was removing the gasket from it’s face, but it’s not as noticeable Here’s the finished product. It seems to have a lot of momentum and/or friction to overcome, and as such doesn’t land on an accurate value when slowly incrementing the voltage. I’ve only experimented with my 100w desk lamp, but it seems I can only get an accurate reading if I switch from off to full line voltage. Alternately, it’s just out of cal (which seems odd, as there’s nothing to calibrate) and the over-swing just happens to land the needle on the right number.
I took a picture with the meter against a ruler and some graph paper so I could recreate the next one. Why I didn’t just trace it is beyond me.

Pingback: Tektronix 551: Adventures in timebase calibration | Buttons, Switches, Knobs & Lights
Paul,
I am huge Tek fan. That’s very cool to have a piece of Tek gear that
was never a product.
A few thoughts…
That chared wire at the switch was likely due to poor internal contact
in the switch causing heating. The only real fix is to replace the switch.
Hopefully there is enough wire that you can cut the burnt part and still
make a connection to the switch.
Be careful when testing unknown loads. The fact that it has a wattmeter
rather than a ammeter can be a liabilty. If the load is a near short, you will
not see any wattage as you bring up the voltage. That, of course, will blow
a fuse. I have a similar Variac in that it has a voltmeter and wattmeter
instead of the more typical voltmeter and ammeter setup. It’s a General
Radio W5MT3W. I have other Variacs that have ammeters and I usually
use those. I only use the unit with the wattmeter when I need to measure
watts, not when “bringing up” old gear on a Variac.
I have owned many Tek scopes and enjoyed them all.
Have fun!
Hi Rene –
Thanks for your comment. That’s a really good point about the Wattmeter. Fortunately there are fuses, and with the in-line ballast bulbs, I suppose I’d see one of those start to glow before I did too much damage, right?
Yeah, I should change the switch – I have a pretty good selection of those types of switches (I just changed one out on a Type 132 Power Supply).
Cheers,
Paul